I’m a huge fan of watercolour nail art. I found this ever-so-pretty version and I just couldn’t resist wearing the look again on my nails:
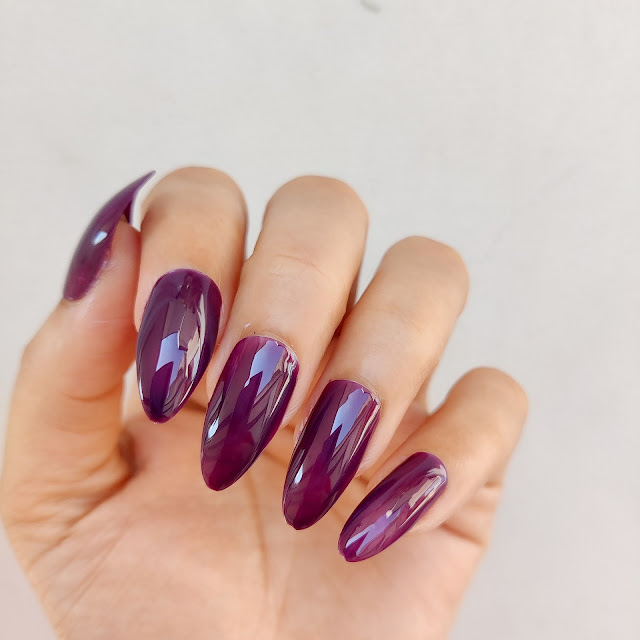
This sheer, jelly-ish finish is just too good to resist!
I used:
- essie / Adore-A-Ball
- essie / Lapiz of Luxury
- essie / Secret Stash
- Paul & Joe / 30
- Queen Nail / Neon Yellow
- Smelly / 32
How to get the look:
1) Apply base coat.
2) Apply two coats of essie / Adore-A-Ball.
3) When the polish is dry, apply the polishes on each finger with sponge to make watercolour effect. For step-by-step instructions for watercolour nail art, jump to this tutorial.
4) Apply top coat.
Awww, I love how it turned out! My favourite is thumb and ring finger – but I did put too much blue polish on middle finger :( There always seem to be some room for improvements, both for my craft projects and nail art!
Anyways, you can use any sheer-type polish as the base to achieve the jelly-ish look. And be light-handed when dabbing some polish on your nails with sponge (thin layers will work better), otherwise it’ll look like my middle finger :) Hope you enjoy some jelly love on your nails.
Lots of Love!!!
XOXO


Comments
Post a Comment