
DIY- Striper Nail Art
I came across to this very simple yet gorgeous nail art
online. Thought of sharing its DIY version with you!
I know most of us love to have nail art but when it comes to
doing it on our nails, we are nothing but a bunch of kindergarteners with
crayons in their hands making a mess around them.

I hope that you will love it and enjoy it!
Things you need

Load by Illamasqua
Blue Sky is the limit by Sation
Rock-A-Guy blue by Sation
Striper brush
Top coat
Steps
Step one: Paint your nail with your base color; I have used
Load by Illamasqua.
Step two: Paint messy vertical lines using your second
lighter color about 1/3 up the length of the nail from the cuticle. Use striper
brush for this. I have used the Blue Sky’s the limit by Sation.
Step three: Using striper brush, paint messy vertical lines
using your darkest color from the nail tip to about 1/3 of the way down the
nail, from the tip. I have used Rock-A-Guy blue by Sation. Make sure none of
the base color shoes at the tip of the nail.
Step four: Apply top coat on drying and enjoy this simple
yet cool nail art!
Do not forget to share them with us.
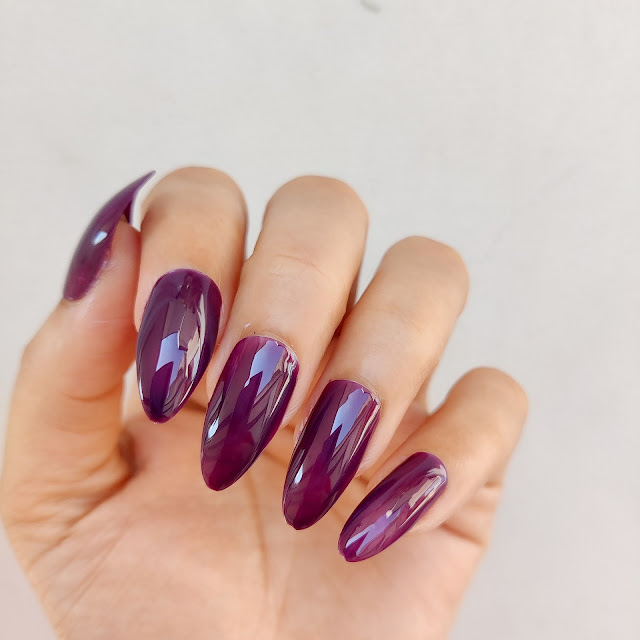
Here is the step wise nail art picture for your assistance.

Enjoy!
Lots of Love!!!

Comments
Post a Comment